The weather was a bit nasty yesterday and grounded a group of our high schoolers on their way to Spain at Logan for the night, so I've been reading on Facebook! Be safe, guys!
I will start the post with a lesson.
I had this adorable fabric with circles and hearts: perfect for the button idea I am playing with! I ironed on interfacing, carefully cut out the circles, tucked them in the base, sealed them with the backs and made two more. They looked adorable. THEN, I went to attach them to a card to post in my Etsy shop, since they are so sweet and realized my mistake: I didn't center the back and the loops in the back were ALL going in different directions! No fixing that one...so I'll be using them for something else down the road...sigh...
 |
| Button back oopsie! |
I really liked the fabric, it's very sweet. So, I decided there was just enough interfaced to make a needle holder/case/housekeeper. Picked out a matching fabric. Sewed the pieces together, rightsided out, pressed and top stitched.
I cut two pieced of felt to tuck inside and sewed them in and added a snap. Still a bit plain, so I decorated it with coordinating ribbon. Which slipped a bit, so I added some beads to "cover" my Oopsie (as I snapped my seam ripper in half trying to remove a button back....). Came out cute!


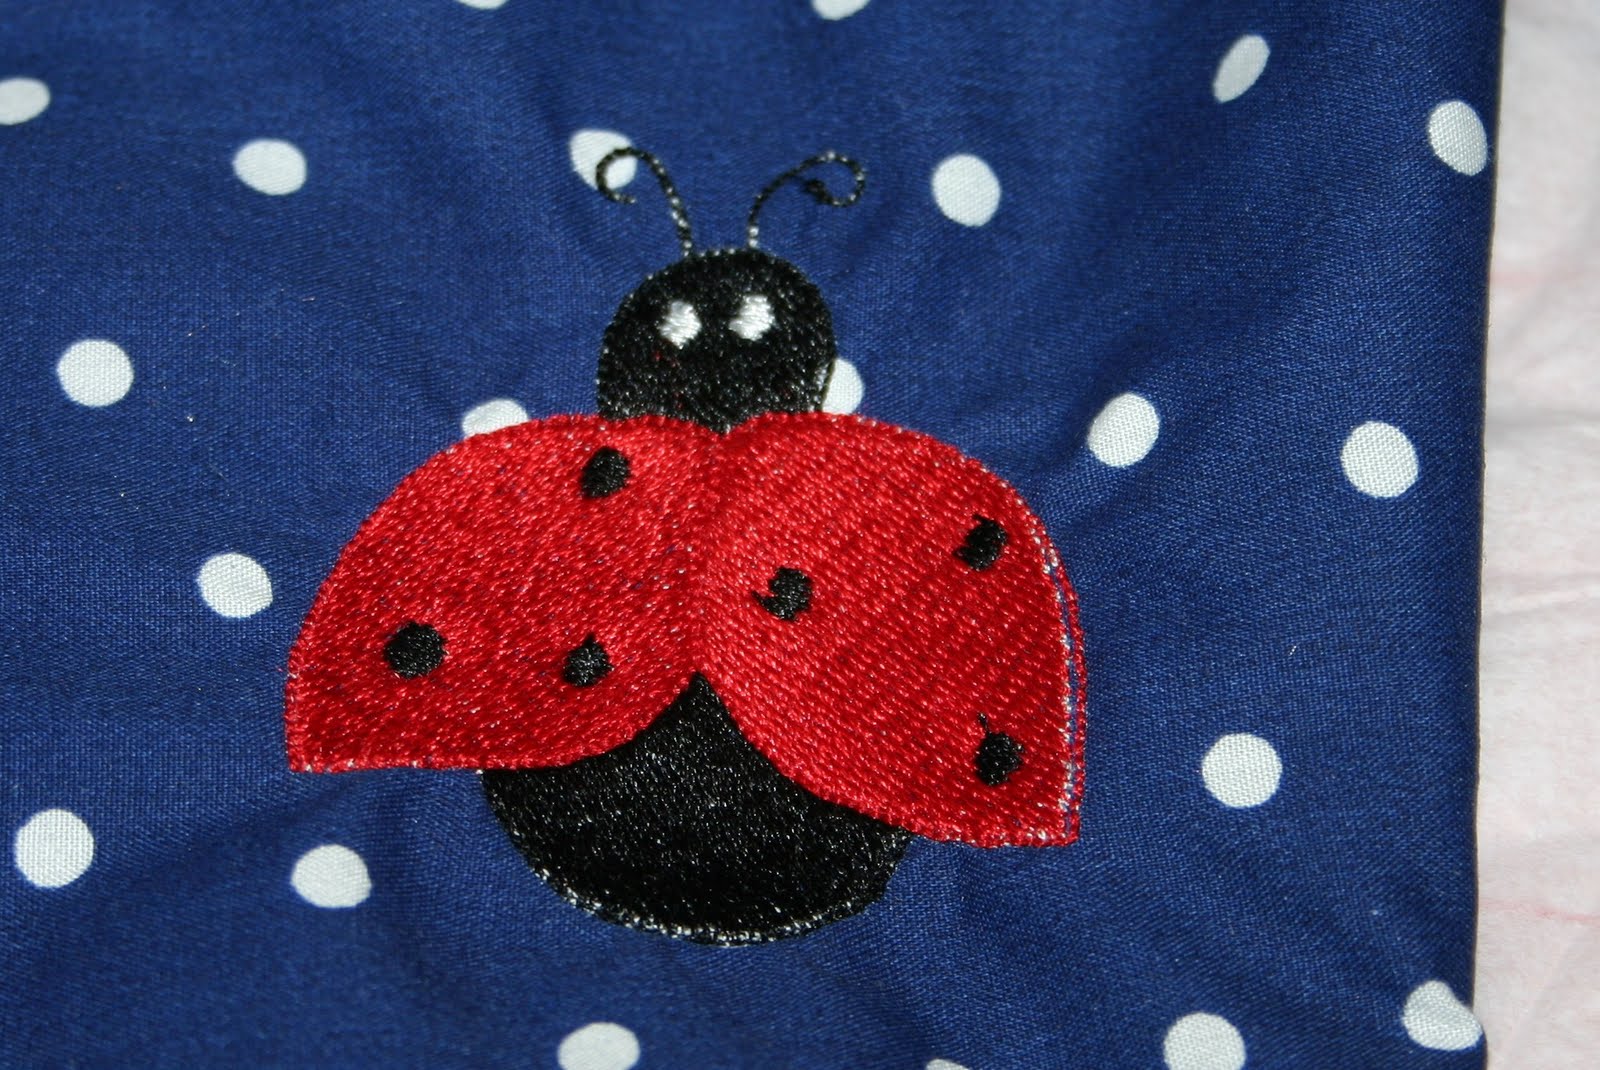
Next project was something for my best buds daughter. I wanted to make a dress for her, but I didn't like the feel of the material. So, I went with pants (which is probably more practical...) Cate is my "borrowed granddaughter" as I only have grandsons and her mom lets me make pretty, sweet things for her!! Fills my "sweet" need! Made up a pair of pants and embroidered a ladybug on the leg. She likes ladybugs and butterflies.

 |
| This is a dress I made for her a few months ago when I was having a "granddaughter attack"!! |
Have a GREAT day,
Carrie
No comments:
Post a Comment