
My selection of grocery totes needs a bit of updating, so I grabbed some fabric and made up one. Thought you might like a peek at how YOU TOO can make a tote in 30 Minutes (more or less...)
For starters, I have been using some fabric I bought that came as all made up curtains, singles, no matches! It was an ebay "deal" - you know, a box filled with curtains you can use for projects? None of which you can use for curtains because you only have one of each? Yup... perfect for tote bags as the material is extra tough - since what I have on hand is 100% cotton quilt fabric - pretty, yet not quite as durable as curtain fabric!
There are several advantages:
- the weight of the fabric;
- the fact that since it is a curtain, it's lined (built in lining, woot woot!);
- also, since it's a curtain, my top edge is already nice, neat and tidy! I LOVE IT!
Here is a photo of the fabric, a valance curtain. I cut out the amount I needed for the two totes and then a piece to divide in half for the straps. Once again, the nice part was that both the top and bottom are already finished off! Sweet!

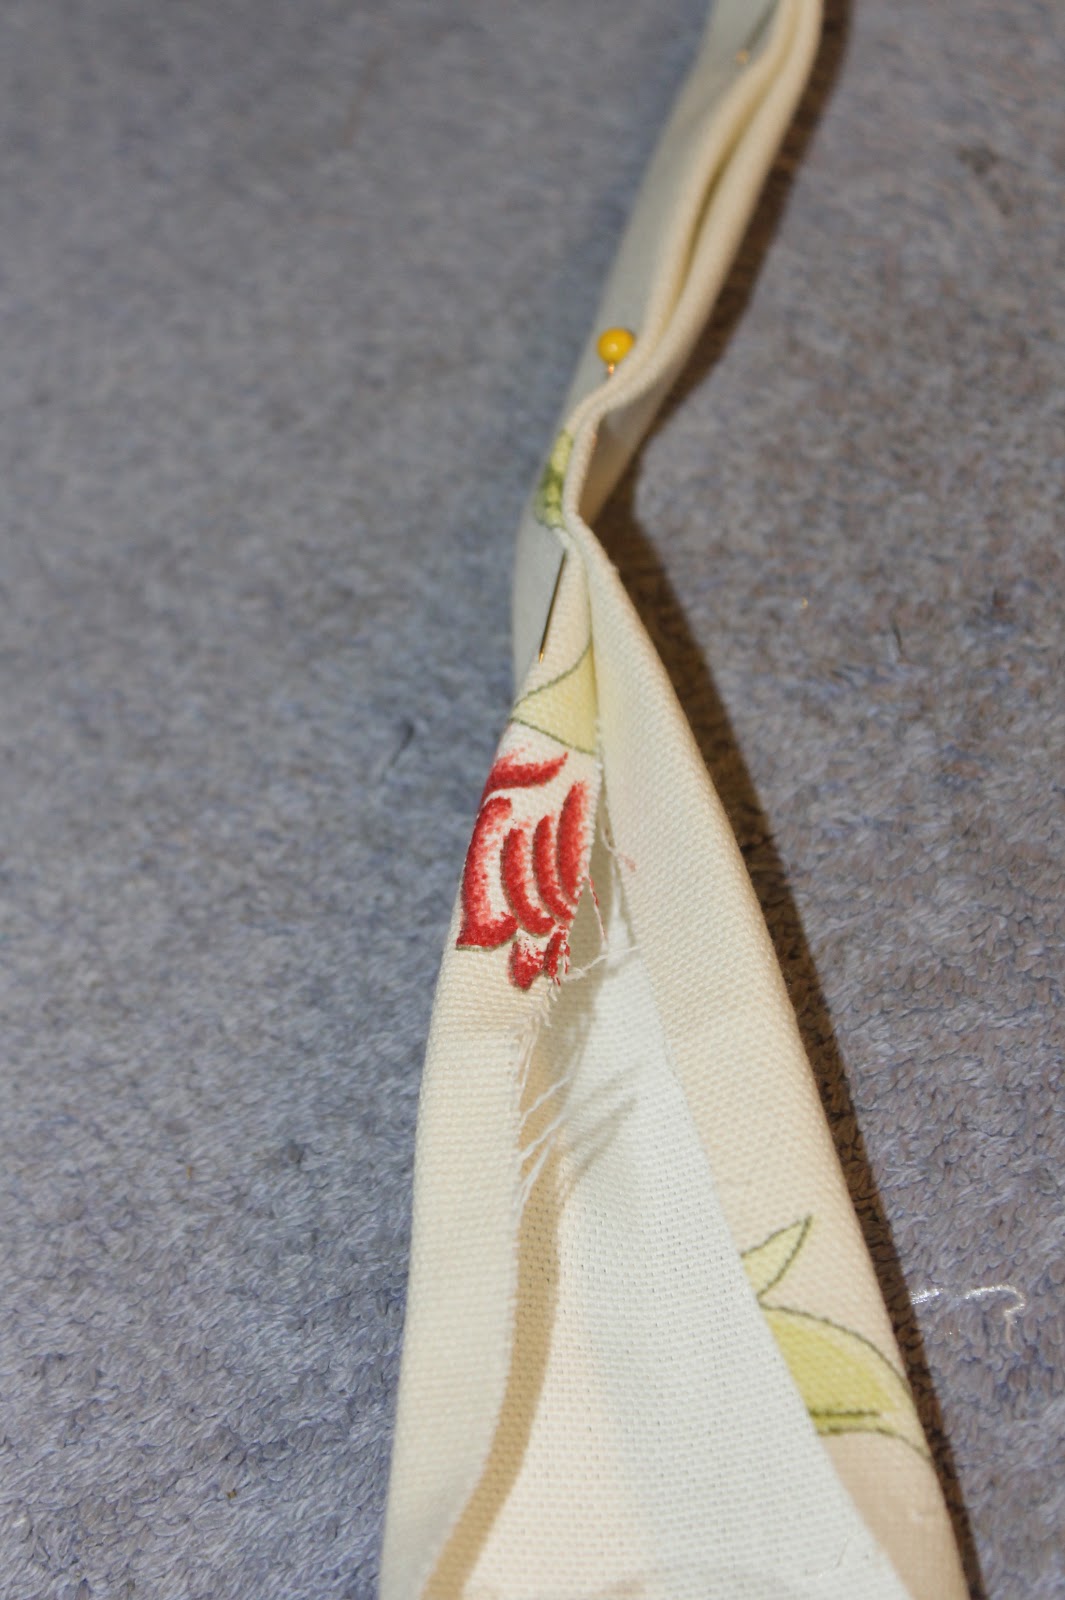
Let's start sewing! I like using French/Invisible seams on these bags - it just makes them that much more rugged. To do so, put the wrong sides together and sew along the side edge on the OUTSIDE about 1/4-3/8".

To keep from having any little threads come through on the next step, trim with scissors to the "scant 1/4".

Now, we need to INSIDE OUT the bag - so the lining (if you are using it) or just the inside (if you aren't) shows.

Press, press, press - it's the key to good French/Invisible seams... jmho.
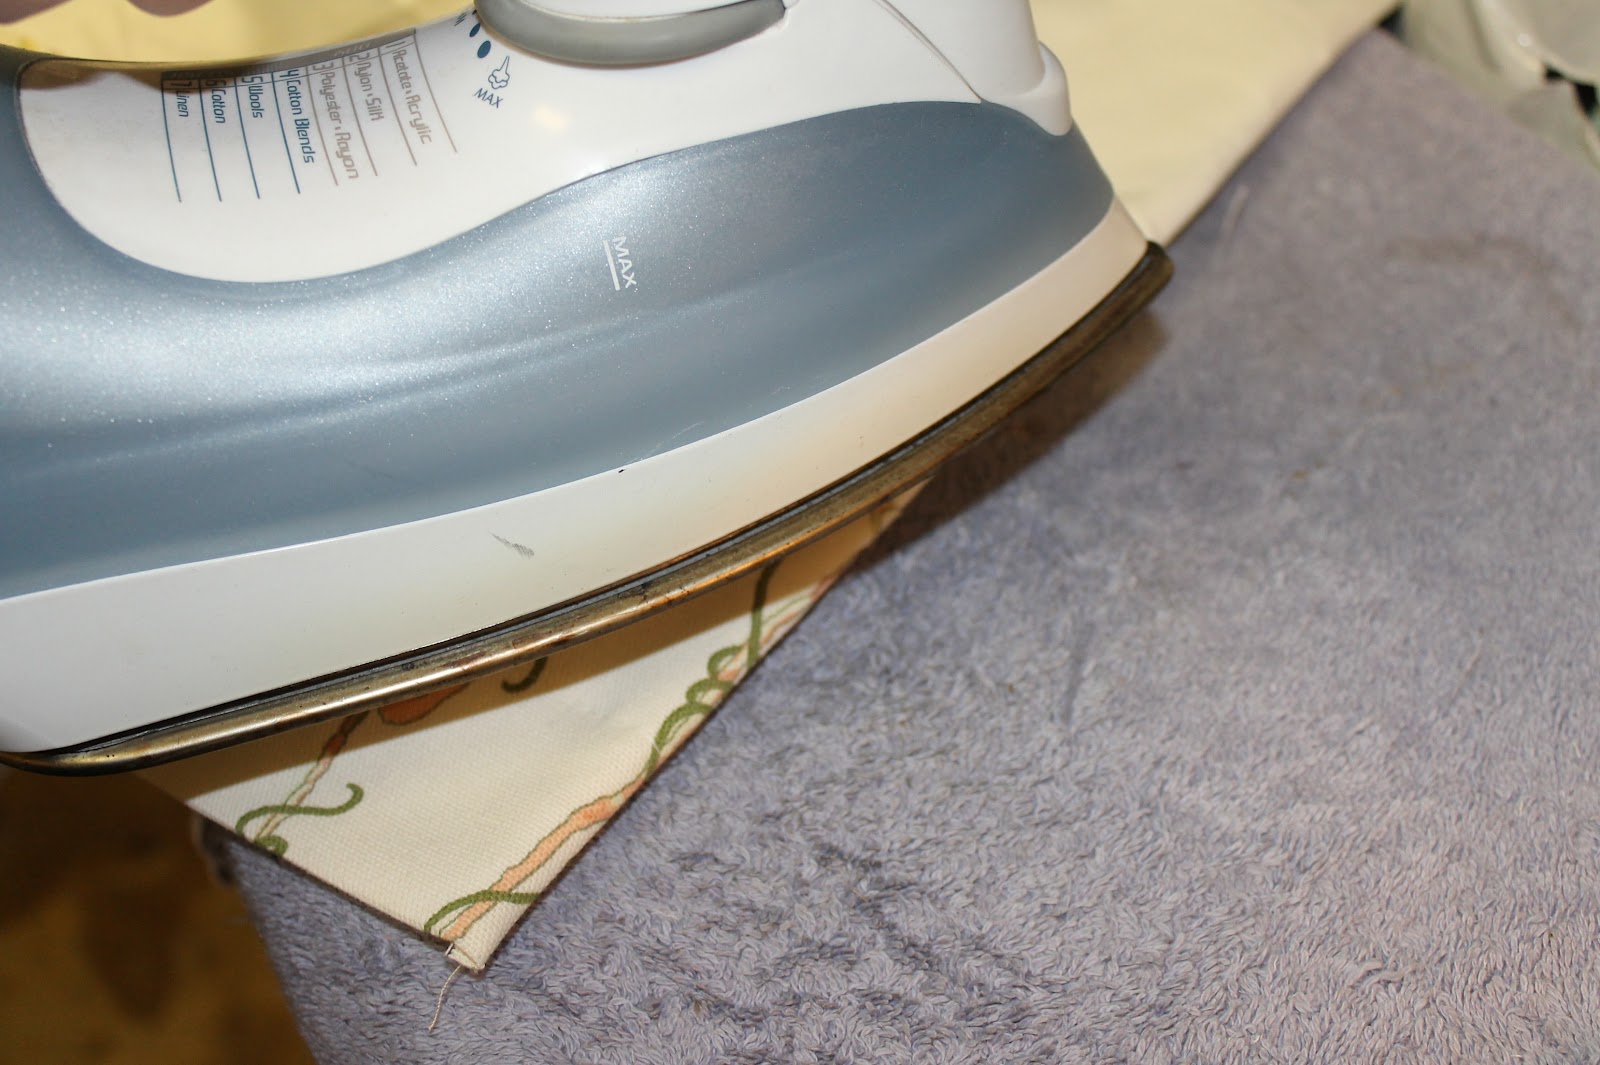
Once you've pressed it, sew it at 1/2" - this will encase the seam and you'll never see the little bugger again! Yay!

Viola! There you are:

Time to repeat at the bottom. This gets a bit lumpy with the curtain fabric, too many layers, but what's a girl to do? Sew across RIGHT SIDE OUT, then turn it INSIDE OUT and close the 1/4" seam in with a 1/2" seam.


Time for box corners! Easy-peasy, girls! Keep it INSIDE OUT - lay the bag down with the folded/seamed bottom edge flat along the side edge. Sew across. Done!

Turn it RIGHT SIDE OUT and there you are!


Time for straps. I went with a 3" strip (on left) and ironed it in half (on right).

Then, I turned the edge in and pinned it. With a 3" piece, you have 1 1/2" when you fold it, so I turned it under about 1/2" or so. Once it's pinned, just sew along the edge you pinned and you have a strap.


Once you have the two straps you'll need to place them. I put them 2 1/2" away from the outside edge.


It's a bit hard to see with the thread color above (on the front) but I went up and down one side, diagonally back and forth, up and down the other side and diagonally back and forth to make an X to hold the straps. The picture below shows the back side, different thread color (which also shows some sloppy sewing on my part!! ARGH!!)

Pretty quick project, don't you think? You'll see my DD modeling the finished tote at the top of the posting - thanks, honey bunches! <3
Give it a try, ladies and save a tree - or at least some of those bags at the checkout!
Quilty hugs,
Carrie
No comments:
Post a Comment